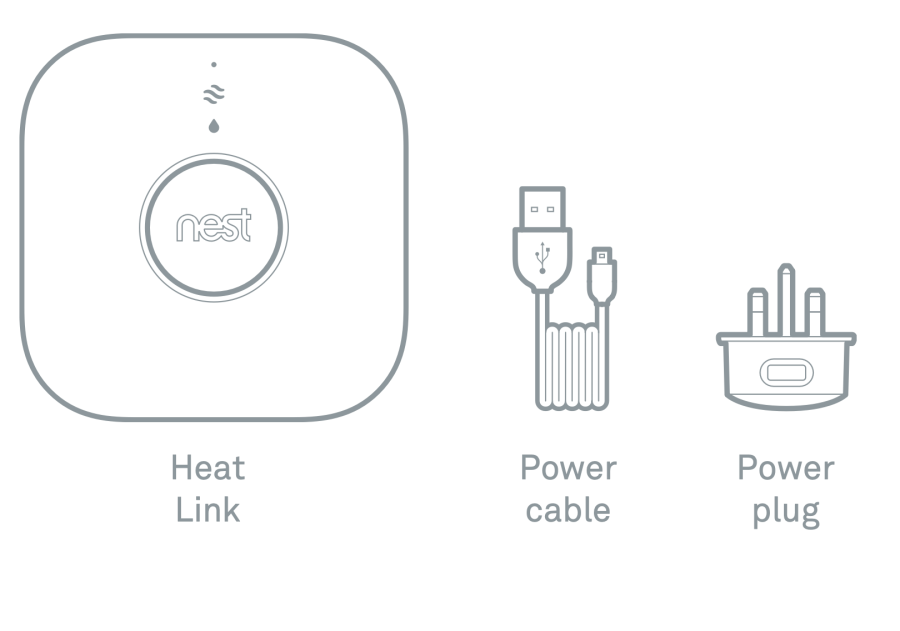
Before you start: Make sure that the Nest Heat Link is already installed and grab the power cable and plug that came with your thermostat.

Find a Good Spot
The Nest Thermostat is designed to stay in one place. Choose where you put it carefully:
- It should be installed so that it can communicate wirelessly with the Heat Link (up to a maximum distance of 30 m). The home’s construction and arrangement will affect the communication range.
- It should be near a socket in a room you use often.
- Make sure that it’s not behind anything. It should have a clear view of the room.
- Nest Thermostat features like Farsight work best when the Stand is placed 75cm-1m from the floor.
- Keep it away from hot or cold areas, like fireplaces or drafty windows.
Putting Everything Together

- Thread the power cable that came with your thermostat through the stand so that the small end of the cable comes out in the front.
- Plug the small end of the cable into the Nest Thermostat base.
- Snap the base onto the stand, then secure it with the provided screws.
- Press the Nest Thermostat display onto the base until it clicks.
- Connect the power plug to the cable, then plug it into a wall socket.
Time for setup
Your thermostat will turn on, help you connect to Wi-Fi, and make sure that it’s within range of the Heat Link.
Moving the stand
Moving it around a bit is fine, but moving the stand across the room can confuse your thermostat. The Nest Thermostat gets used to the temperature and level of activity in one spot and isn’t designed to be moved around.
If you move the stand, your Nest Thermostat may need a week or two to recalibrate Time-to-Temperature and Auto-Away.
Cleaning the stand
Just wipe the stand with a damp cloth.
Online or phone support
nest.com/eu/support
Find answers in the Nest Community
nest.com/community
